XIAO ESP32 C3
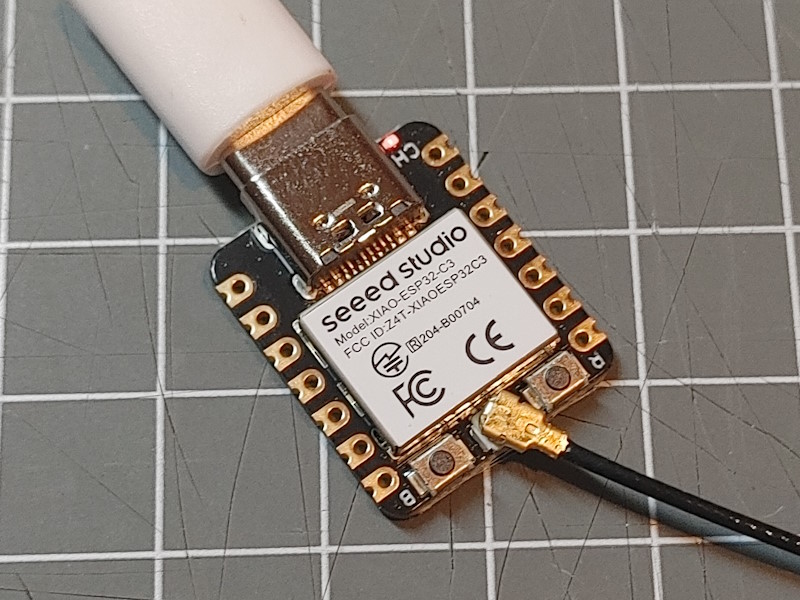
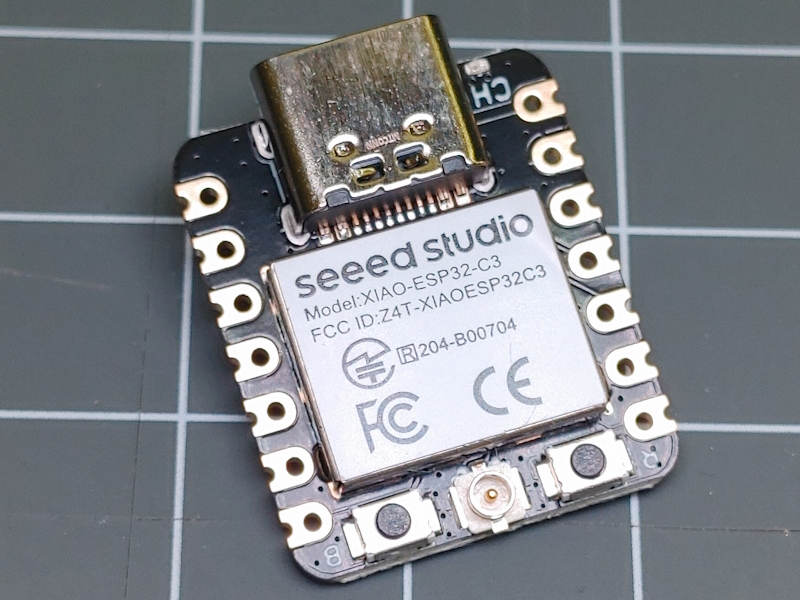
The XIAO ESP32 C3 is a thumb-size board with an I-PEX connector for an external antenna.
The XIAO ESP32 C3 board using the ESP32-C3 processor is a very small sized board that can easily be flashed and comes with a connector for an external antenna.
This board comes with
- ESP32-C3 WIFI & Bluetooth LE RISC-V Single-Core CPU
- USB-C connector, directly connected to ESP32-C3 processor.
- 4MB Flash
- Boot and Reset Button
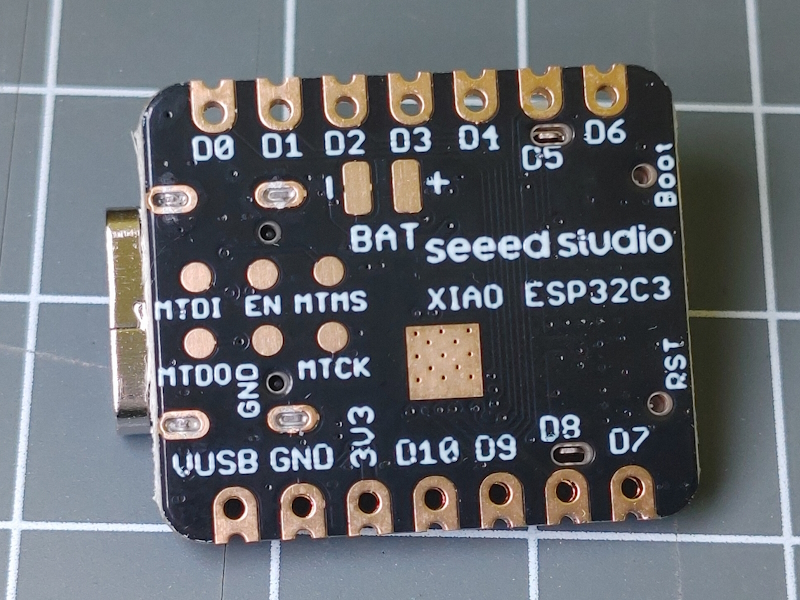
- GPIO 2 - 10 and 20 on connector pins
- somehow compatible to other XIAO boards and shields
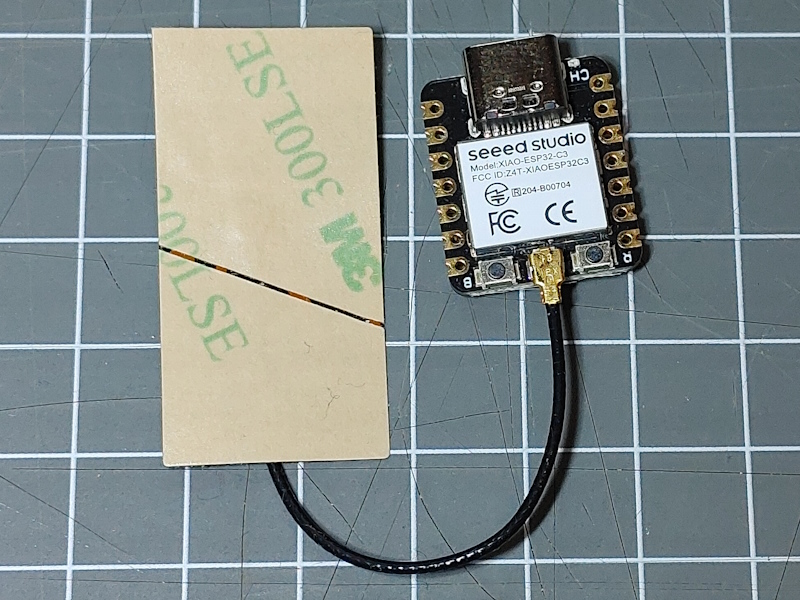
- I-PEX connector for an external antenna
- LiPo charging (battery connector pads on the back)
- JTag signals (through connector pads on the back)
- 5V to 3.3V regulator on board.
- Board size: 18 * 21 mm
The ESP32-C3 processor has a 32-bit single core RISC-V CPU running at max. 160MHz and 400KB SRAM memory. Bluetooth LE is supported. See ESP32-C3 Boards
There is no antenna on this board and the external antenna that is shipped with the board or any other 2.4 GHz WiFi antenna with a common I-PEX connector must be connected for using any WiFi or Bluetooth functionality. An external antenna usually provides outstanding RF performance compared to on-board antenna solutions.
As there are no additional power consuming components on this board it fits good for battery based use cases. It has a onboard lithium battery charging chip to recharge using the USB-C connector.
LiPo charging
There is a battery connector using solder pads available on the bottom of the board to attach a Li-Ion Battery. The charging using the USB power. The on-board LED next to the USB-C connector will indicate the charging mode. There is no further interface or API for control.
This LED will flicker when USB is providing an input voltage and no Li-Ion battery is attached.
Arduino Board configuration
The ESP32 Board Manager in the Arduino environment has a dedicated board type
XIAO_ESP32C3 (esp32) that fits to this board. No further setting is required.
- Flash Mode is QIO
- Flash Size 4MByte (32Mbit)
- 400KB SRAM Memory
For compiling with the Arduino CLI the following board settings can be used:
"board": "esp32:esp32:XIAO_ESP32C3"
"configuration": "CDCOnBoot=default,PartitionScheme=default,CPUFreq=160,FlashMode=qio,
  FlashFreq=80,FlashSize=4M,UploadSpeed=921600,DebugLevel=none,EraseFlash=none",
}
System configuration
The ESP32C3 GPIO pins can be used in various ways This configuration sticks to the functional pin assignments if the I2C bus found in the board description of seeedstudio.com
The following env.json file can be used as a starting point for the configuration of this board and includes all definitions for the on-board hardware:
{
  "device": {
    "0": {
      "name": "xiaoc3",
      "title": "XIAO ESP32C3",
      "description": "XIAO_ESP32C3 board",
      "loglevel": "2",
      "logFile": "1",
      "connecttime": "20s",
      "safemode": "0",
      "sd": "1",
      "i2c-scl": "7",
      "i2c-sda": "6"
    }
  },
  "ota": {
    "0": {}
  },
  "ntptime": {
    "0": {
      "zone": "CET-1CEST,M3.5.0,M10.5.0/3"
    }
  },
  "digitalin": {
    "boot": {
      "title": "Boot button signal",
      "pin": "9",
      "invert": "true",
      "pullup": "1"
    }
  }
}
See Also
- Boards overview
- ESP32-C3 Boards
- Manufacurer and Shop: https://www.seeedstudio.com/Seeed-XIAO-ESP32C3-p-5431.html
- https://wiki.seeedstudio.com/XIAO_ESP32C3_Getting_Started/
- https://sigmdel.ca/michel/ha/xiao/xiao_esp32c3_intro_en.html