Arduino Nano ESP32
This board is an official Arduino board with the ESP32-S3 chip
This board can be bought from the Arduino Store. https://store.arduino.cc/products/nano-esp32.
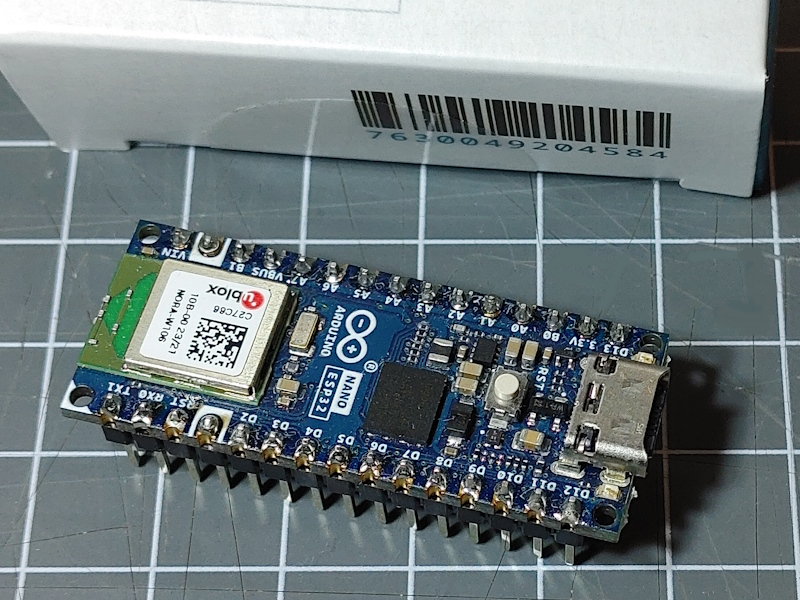
The Arduino Nano ESP32 is a development board using the ESP32-S3 based module NORA-W106-10B from u-blox providing the Arduino Nano form factor.
It is a good board for development and fits good on top of a breadboard or the Nano Adapters.
This board is equipped with:
- ESP32-S3 processor
- Flash: 16 MByte (external Flash chip GD25B128EWIGR)
- PSRAM: 8 MB (inside the NORA-W106 module)
- Built-In Led
- RGB Led
- 24 GPIO Pins (See below)
- Reset button
The board comes with its special bootloader that uses Arduino Upload procedure instead of the Standard espressif procedure. (see below)
The Arduino Nano ESP32 Cheat Sheet gives new details.
Arduino Bootloader
The board comes with a bootloader especially made for the Arduino environment that starts first before the sketch starts.
When pressing the Reseet Button the bootloader will create a rainbow light effect on the on-board RGB Led that takes about a second and then automatically starts the sketch.
While the rainbow light effect is running you can again press (effective a double-click) the Reset button to keep the bootloader in programming mode and wait for the new binary to be uploaded. This is illumnated by slowly pulsing green.
You can also upload sketches using the standard esptool to gain some additional space but the Arduino then will loose the bootloader.
To start the Native Boot mode (firmware download mode) you have to connect B1 to GND and press the Reset button.
It can be re-applied using following the steps of this Help Center article: Reset the Arduino bootloader on the Nano ESP32
Buttons
The Reset Button (RST) is the only button on the board that can be used to re-start the uploaded sketch and also can be used to start in programming mode.
On-Board LEDs
There is a green LED next to the USB connector that is permanently on while VCC is available.
The yellow LED on the opposite site can be switched on by providing HIGH on GPIO48. The LED_BUILTIN definition is available.
On-Board RGB LED
The RGB led on the board next to the Reset button can be switched on by pulling the GPIO lines to LOW:
| Color | pin | Define |
|---|---|---|
| Red | GPIO46 | LED_RED |
| Green | GPIO0 | LED_GREEN |
| Blue | GPIO45 | LED_BLUE |
ESP32 Pin Map
The board has the Arduino typical pin descriptions D0 - D13 and A0 - A7. Also B0 and B1 is available.
| Pin | GPIO | available C Defines | Usage |
|---|---|---|---|
| RX0 / D0 | 44 | D0, RX | |
| TX1 / D1 | 43 | D1, TX | |
| D2 | 5 | D2, | |
| D3 | 6 | D3, CTS | |
| D4 | 7 | D4, DSR | |
| D5 | 8 | D5, | |
| D6 | 9 | D6, | |
| D7 | 10 | D7, PIN_I2S_SCK | |
| D8 | 17 | D8, PIN_I2S_FS | |
| D9 | 18 | D9, PIN_I2S_SD, PIN_I2S_SD_OUT | |
| D10 | 21 | D10, PIN_I2S_SD_IN, SS | |
| D11 | 38 | D11, MOSI | SPI-COPI |
| D12 | 47 | D12, MISO | SPI-CIPO |
| D13 | 48 | D13, SCK, LED_BUILTIN | SPI-SCK |
| A0 | 1 | A0, DTR | DTR |
| A1 | 2 | A1, | |
| A2 | 3 | A2, | |
| A3 | 4 | A3, | |
| A4 | 11 | A4, SDA | I2C-SDA |
| A5 | 12 | A5, SCL | I2C-SCL |
| A6 | 13 | A6, | |
| A7 | 14 | A7, | |
| B0 | 46 | ||
| B1 | 0 | LED_GREEN | RGB green color, ROM boot |
| 46 | LED_RED | RGB red color | |
| 45 | LED_BLUE, RTS | RGB blue color |
There is a board option to use the printed Arduino numbering or the native GPIO numbering.
Arduino Board Configuration
To compile for this board in Arduino using the esp32 implementation from espressif the following settings for the board can be used:
- ESP32S3 Dev Module
- JTAG Adapter disabled
- PSRam enabled
- Flash Mode QIO 80 MHz
- Flash Size: 16MB
- USB Mode Hardware CDC and JTAG
- USB CDC On Boot: Enabled
Board configuration
The following env.json configuration can be used for this board and contains settings for
- The device in general
- The ST7735 based display
- A value and pwm output to control the display brightness
- The digital input signal definition for the button on the back.
{
  "device": {
    "0": {
      "name": "nano",
      "title": "Arduino Nano ESP32",
      "description": "Arduino Nano ESP32 Original board.",
      "loglevel": 2,
      "led": "13"
    }
  },

  "light": {
    "led": {
      "title": "rgb led",
      "loglevel": 0,
      "pin": "14,15,16",
      "value": "x203050"
    }
  }

}
See Also
- Arduino Store nano-esp32
- Arduino Nano ESP32
- Arduino Getting Started with Nano ESP32: https://docs.arduino.cc/tutorials/nano-esp32/getting-started-nano-esp32/
- Data sheet https://docs.arduino.cc/resources/datasheets/ABX00083-datasheet.pdf
- Full pin diagram: https://docs.arduino.cc/resources/pinouts/ABX00083-full-pinout.pdf
- Full schematics: https://docs.arduino.cc/resources/schematics/ABX00083-schematics.pdf
- NORA-W106-10B: https://www.u-blox.com/en/product/nora-w10-series
- NORA-W106-10B DataSheet: https://content.u-blox.com/sites/default/files/documents/NORA-W10_DataSheet_UBX-21036702.pdf