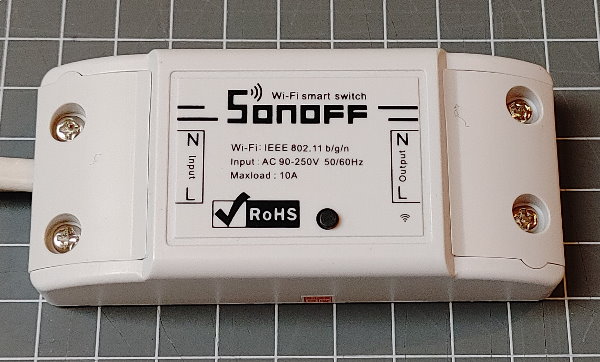
Sonoff Basic (R1)
The Sonoff Basic is a off-the-shelf smart relay to switch main power consumers. It is using the ESP8266 CPU and 1 MByte Flash and can be used with the Minimal Example.
Sonoff ITEAD is a brand for several off-the-shelf Smart Home WLAN devices like switches that use the ESP8266 chip. They were one of the first companies selling these type of devices to the market that were usable for uploading custom firmware. Today many brands use these chips and there is a huge community that supports re-flashing these devices with a new firmware.
The Minimal Example can be flashed onto his device to support a remote switch with options for time based switching.
GPIO usage
| GPIO# | Component | Usage |
|---|---|---|
| GPIO13 (D7) | led | LED (green), (0 to switch on). |
| GPIO0 (D3) | button | button, can also be used for start flashing |
| GPIO12 (D6) | relay | relay, (1 to switch on). |
| GPIO14 (D5) | – | available on connector |
Warning
- This warning is serious.
- Stay away from devices with contact to mains voltage.
- Never handle this module when connected to the mains voltage as the contacts are not safe.
- Uploading firmware to devices that have contact to mains voltage is dangerous.
- DO NOT connect the any device to the mains during flashing or while using the serial interface.
- You may kill your computer and yourself.
- When you are making these kind of projects you really need to know what you are doing.
- I have warned you, do not blame on me.
Example env.json configuration
This configuration registers the device with the name “sonoff01” on the networks and enables using the button during boot for starting into the configuration mode.
{
  "device": {
    "0": {
      "name": "sonoff01",
      "description": "Sonoff Basic R1",
      "homepage": "/ding.htm",
      "led": "D7",
      "button": "D3"
    }
  },
  "ota": {
    "0": {
      "port": 8266,
      "passwd": "123",
      "description": "Listen for 'over the air' OTA Updates"
    }
  }
}
Example config.json configuration
This configuration allows switching the relay using the button and showing the relay state using the LED.
{
  "digitalin": {
    "button": {
      "pin": "D3",
      "invert": 1,
      "pullup": 1,
      "onLow": "switch/relay?toggle=1"
    }
  },
  "switch": {
    "relay": {
      "value": 0,
      "onValue": "digitalout/led?value=$v,digitalout/relay?value=$v"
    }
  },
  "digitalout": {
    "led": {
      "pin": "D7",
      "invert": "true"
    },
    "relay": {
      "pin": "D6",
      "invert": "false"
    }
  }
}
How to flash

| Adapter | S20 |
|---|---|
| GND | Gnd |
| RX | TX |
| TX | RX |
| 3.3V | 3.3V < Marker |
Installing ESPEasy Firmware on an Itead Sonoff S20 Smart Socket: https://www.youtube.com/watch?time_continue=429&v=GbaMF6zfQZU&feature=emb_logo
The on-board button is pulling GPIO0 down and can be used to start the programming mode when holding down while connecting the adapter.
See also
- DigitalIn Element
- Switch Element
- DigitalOut Element
- http://www.andremiller.net/content/programming-an-itead-sonoff-wireless-smart-switch-esp8266
- https://www.jackenhack.com/sonoff-switch-i2c/